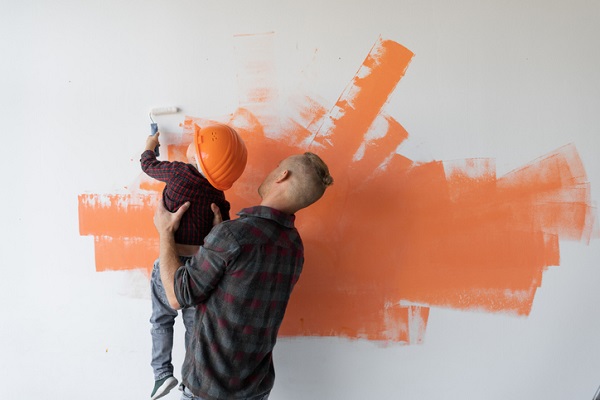
Whether you’re staging your house or simply giving it an interior design refresh, knowing how to paint your home properly will save you time and stress. Use these seven painting tips to give your home a professional touch.
1. Purchase high-quality painting tools
High-quality painting tools are the first step toward professional-looking paint jobs. They can also make painting go more quickly and smoothly. And with proper care, you can reuse high-quality painting tools.
Buying cheap brushes, rollers, roller covers, painter’s tape, and other tools will only make your paint job more difficult and less professional. Cheap rollers are more likely to leave fuzz on your walls, and good painter’s tape will be far more effective in sealing off any drips. It’ll be easier to remove, too.
2. Buy high-quality paint, then “box” it
Similar to your tools, you’ll also want to purchase premium interior paint (and primer if you need it).
When you purchase your paint, don’t hesitate to tell the salesperson about what you’re doing, especially how large of an area you’ll be painting. They’ll help you estimate how many gallons you need, and then you can purchase all of your paint at once.
Before you start painting, buy a large, plastic container and mix all of your paint. This is referred to as “boxing,” and it ensures that you’ll get the exact same color throughout the room.
3. Prep your walls and ceilings
Once you’ve purchased your tools and materials, it’s time to prep your walls and ceilings.
In general, you should wash your walls and ceilings before painting them, especially if you notice grime or dirt. However, most professional painters don’t wash walls. Instead, they use a pole sander and fine-grit sandpaper to remove buildup from walls and ceilings.
After cleaning or sanding, it’s time to do some maintenance before painting. It might take a while, but it will be entirely worth it in the end.
Patch any holes, fill in cracks and dents, and sand the surface until it’s smooth. If your walls have been patched before, you might need to scrape out the old plaster or spackle, and then re-fill the crack.
4. Use canvas tarps, not plastic
Plastic tarps are cheap, but they aren’t easy to work with. Stick to traditional canvas tarps/drop cloths to prevent tripping hazards while covering your furniture and floors. This is another step where careful preparation will save you time and headaches in the long run.
5. Cut in the edges properly
“Cutting in” refers to the painting you’ll do when two surfaces meet and you only want to paint one, like where the ceiling meets the wall.
If you can master cutting in with a brush you’ll save a significant amount of time taping.
6. Paint the ceiling first
Now that you’re ready to paint, it’s best to start with the ceiling. After you’ve taken care of that you can, move on to the walls and trim. However, note that some professionals prefer to paint the trim first and then the ceiling, while other experts recommend taking care of the big areas first.
7. Paint from top to bottom, not bottom to top
Once you’ve taken care of cutting the edges with a brush (at the ceilings and baseboards), you should use your roller to paint from top to bottom. That way, if anything splatters or drips (and paint always does), you can smooth over any imperfections as you work your way down the wall.
2-10 HBW offers the most comprehensive Home Warranty Service Agreements for homeowners. Let us help you protect your home.
Related content
Top 12 Tools Every Homeowner Needs


